Import from ESRI
Overview
Import layers from an ArcGIS REST FeatureServer or MapServer into AcuGIS Cloud. The selected layers are imported into PostGIS and registered as datasets in a Library folder.
You can begin from a specific Library folder or use Add Data Wizard to select the folder before configuring the service.
Before You Begin
- Sign in to an active AcuGIS Cloud account.
- Confirm that you have permission to add datasets to the destination Library folder.
- Copy the ArcGIS REST URL for the FeatureServer or MapServer.
- For a secured service, have the authentication details required to access it.
- Have access to an existing PostGIS destination, or permission to create the destination offered by your deployment.
- Know the target database and schema in which the imported layer tables should be created.
Use the service URL
Use a REST endpoint that ends in FeatureServer or MapServer, not the URL of an ArcGIS web map, item details page, or interactive viewer. Use the service-level URL to browse all available layers.
Step-by-Step
Import from a Folder
Use this workflow when you already know which Library folder should contain the imported datasets.
1. Open the destination folder
Open My Drive, find the destination folder, and click Open Folder.
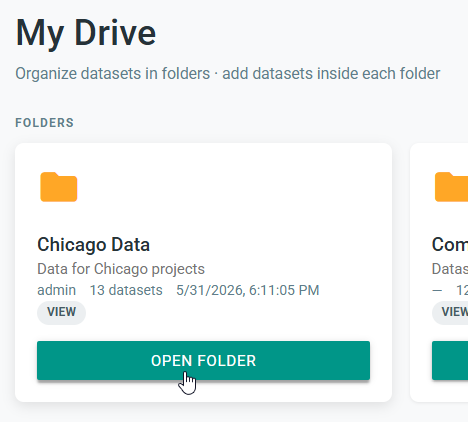
Caption: Begin in the Library folder where the imported ESRI layers should be registered.
2. Select ESRI Import
Click Add Dataset, then select ESRI Import.
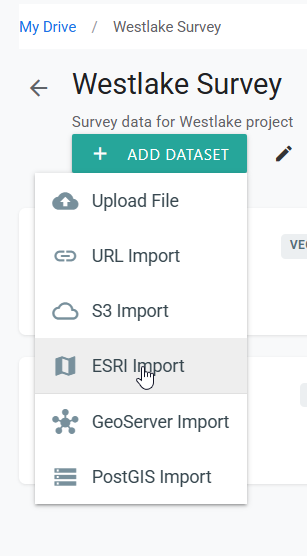
Caption: ESRI Import opens the ArcGIS FeatureServer and MapServer import workflow.
3. Enter the service URL
Paste the ArcGIS REST FeatureServer or MapServer URL. If the service is secured, expand Authentication (optional) and provide the requested access details. Click Browse Layers.
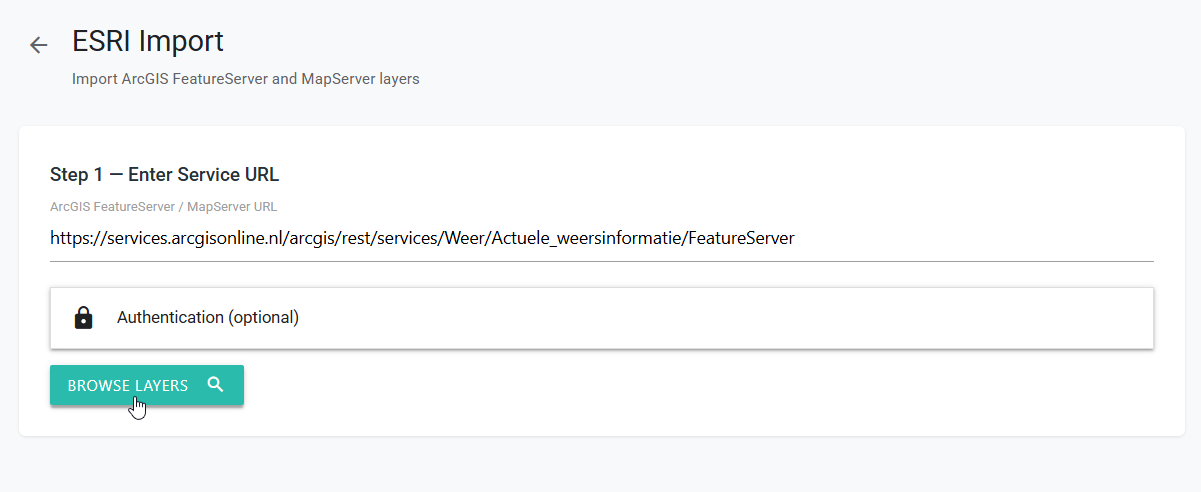
Caption: Enter the service-level REST URL so AcuGIS Cloud can discover its layers.
4. Select layers
Review the detected service type and available layers. Select each layer that you want to import.
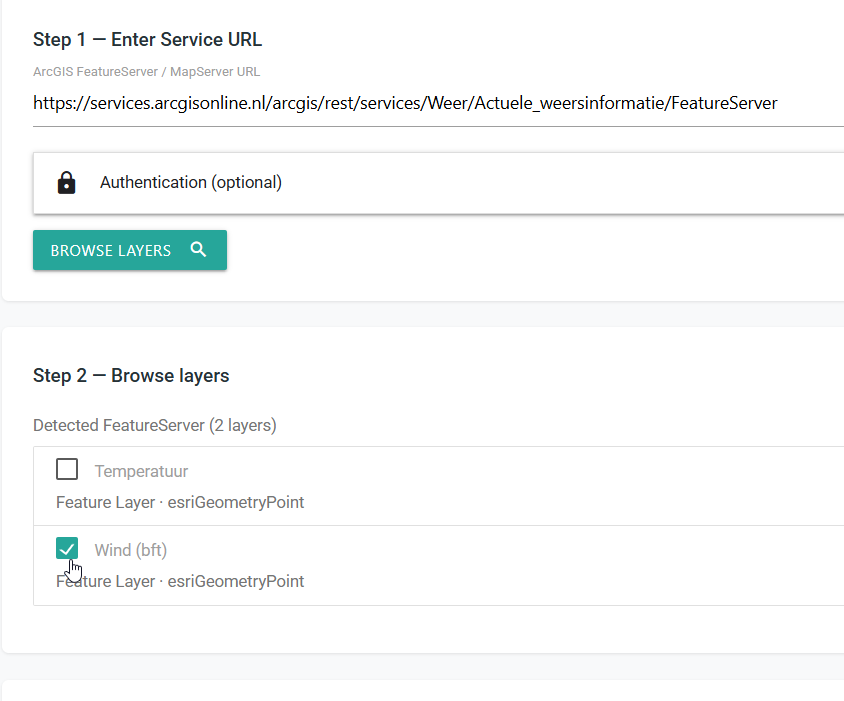
Caption: Import only the layers needed from the detected FeatureServer or MapServer.
Check layer geometry
The layer list identifies the ArcGIS geometry type. Confirm that it matches what you expect before importing, especially when similarly named layers are available.
5. Configure the destination
Under Import options, configure:
- Destination — choose Existing Database or New Database, when available.
- Import into PostGIS (connection) — select the target PostGIS connection.
- Database — select the target database.
- Schema — enter the schema in which the imported tables will be created.
- Dataset prefix (optional) — prepend text to each imported table name to avoid collisions or group related layers.
- Library folder — confirm where the imported datasets will be registered.
- Run as background job — keep this selected for an import that should continue as a background task.
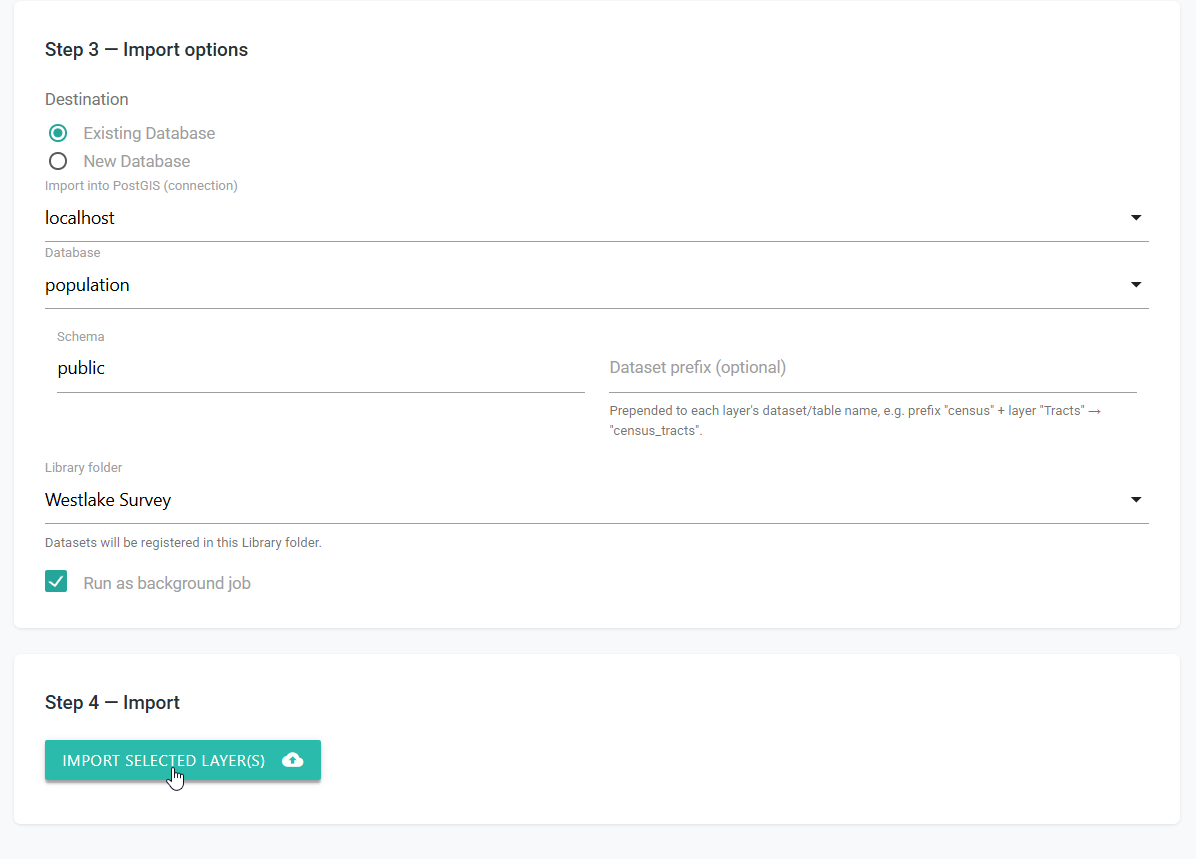
Caption: Select the PostGIS destination and confirm the Library folder before importing.
Click Import Selected Layer(s) and wait for the import to start. If it runs as a background job, you can leave the page while processing continues.
6. Verify the imported layer
Open the new dataset from the Library folder. Select the imported layer, inspect several feature attributes, and confirm that the features appear in the expected map location.
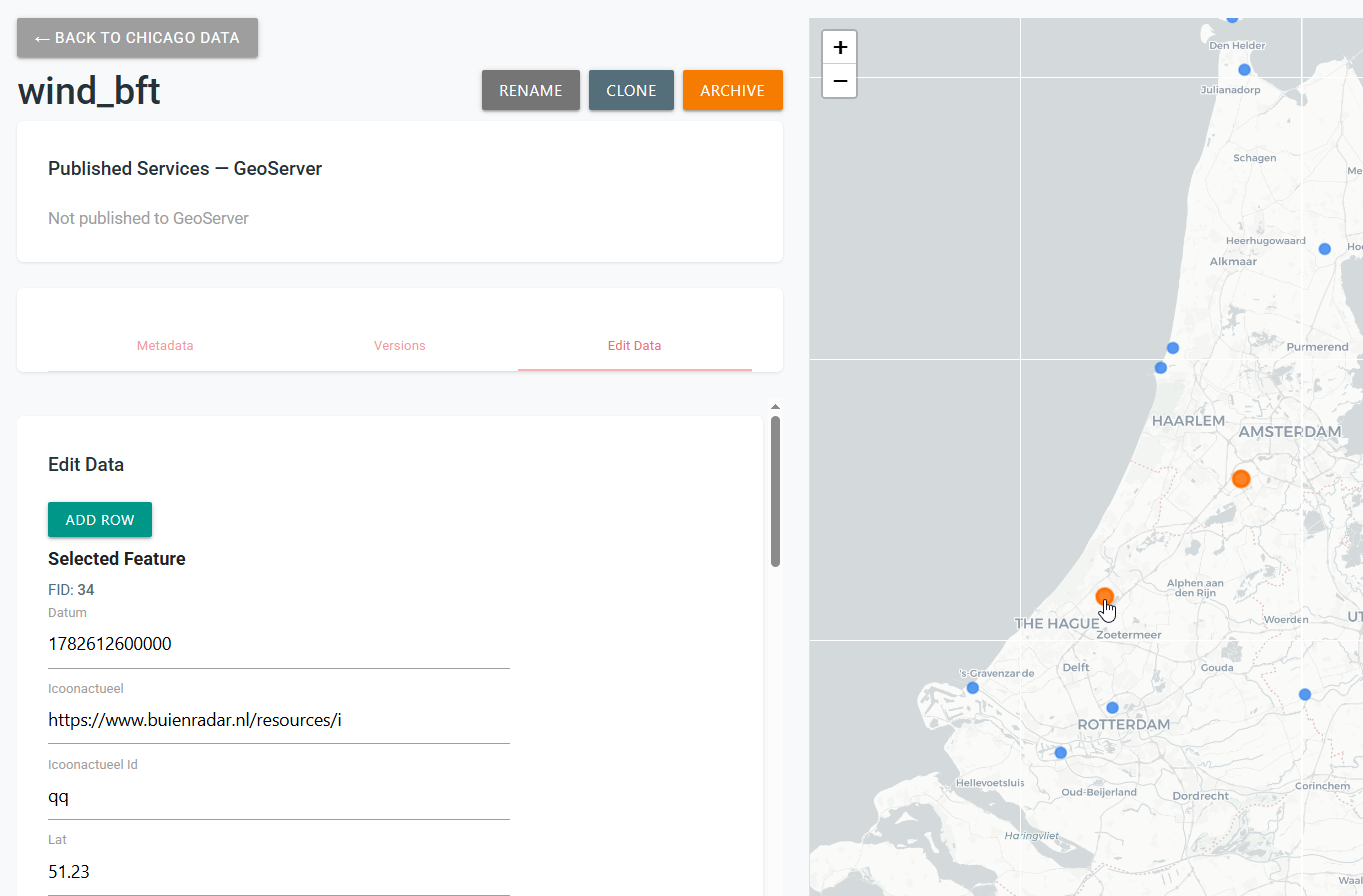
Caption: Correctly located features and readable attributes confirm that the ESRI layer was imported successfully.
Import with Add Data Wizard
Wizard lets you select a Library folder before opening the ESRI service import workflow.
1. Open Wizard
Open Administration, then select Wizard.
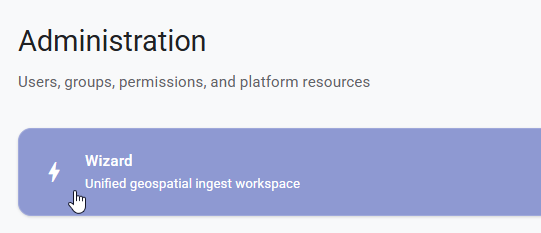
Caption: Wizard opens the unified geospatial ingest workspace.
2. Select ESRI Feature Service
Click Add Source, then select ESRI Feature Service.
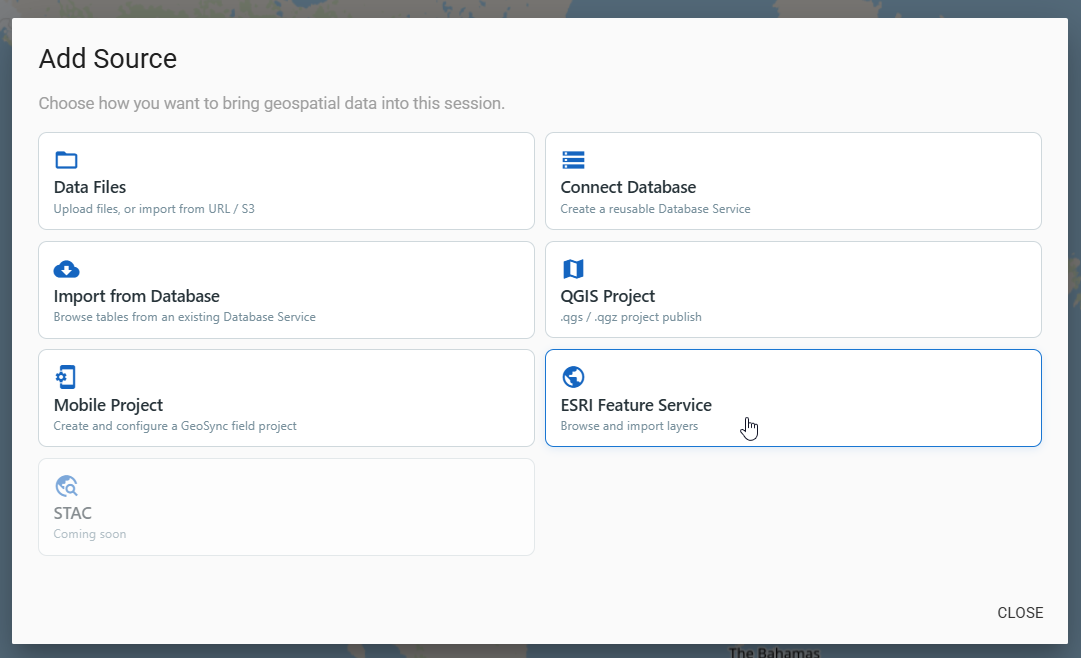
Caption: ESRI Feature Service browses and imports layers from ArcGIS REST services.
3. Choose the Library folder
Select the folder where datasets created by the ESRI import should be registered.
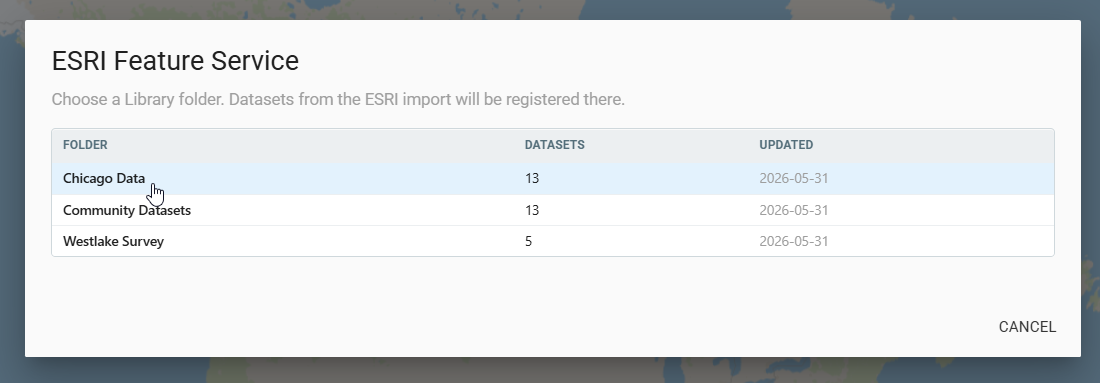
Caption: Wizard asks for the Library destination before opening the service importer.
4. Browse and select service layers
Enter the FeatureServer or MapServer URL and any required authentication details, then click Browse Layers. Select the layers to import, as described in steps 3 and 4 of the folder workflow.
5. Configure PostGIS and import
Select the PostGIS connection, database, and schema. Add an optional dataset prefix, confirm that Wizard retained the intended Library folder, and choose whether to run the import as a background job.
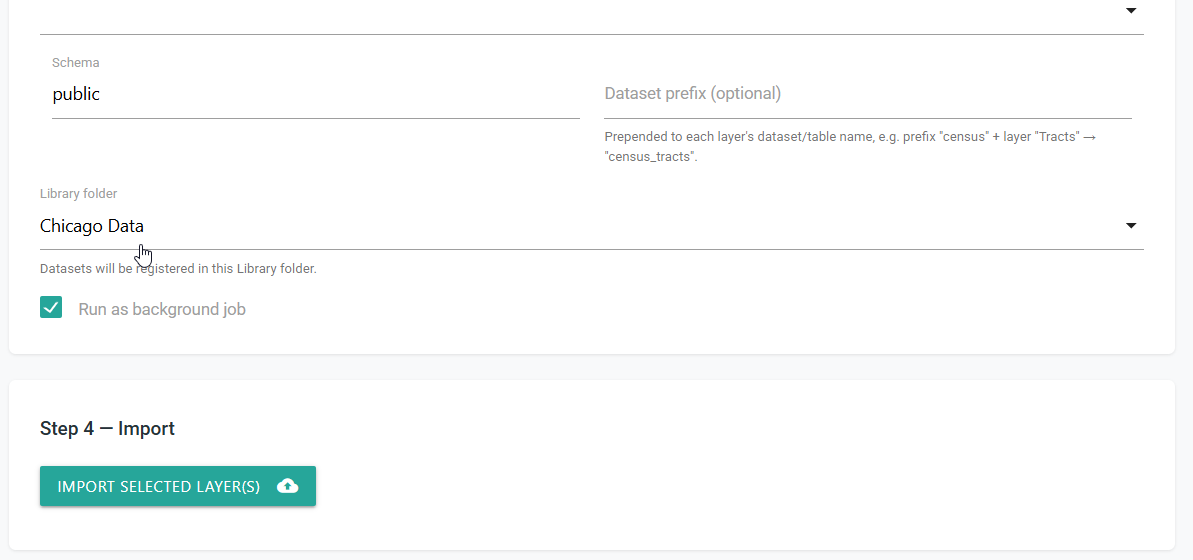
Caption: Confirm the database settings and Wizard-selected Library folder before starting the import.
Click Import Selected Layer(s). When processing completes, open each imported dataset in the selected Library folder and verify its attributes, geometry, and map location.
Tips
Import only required layers
Large services can contain many layers. Selecting only the layers you need shortens the import and avoids unnecessary PostGIS tables and Library datasets.
Use a dataset prefix
Add a short prefix when generic layer names could conflict with tables already in the target schema. For example, prefix weather and layer Wind can create a clearly associated table name.
Record the source service
Keep the original service URL with your project notes. The imported PostGIS data is a copy and does not automatically prove that it still matches the remote service.
Verify every selected layer
A multi-layer job can succeed for some layers and fail for others. Confirm that each selected layer appears in the Library and contains the expected feature count, geometry, and attributes.
Common Problems
Browse Layers finds no service
Confirm that the URL is an ArcGIS REST endpoint ending in FeatureServer or MapServer. Remove a layer number from the end if you intend to browse the complete service, and verify that the endpoint opens from your network.
The service requires authentication
Expand Authentication (optional) and enter valid access details. If access still fails, the service may use an unsupported sign-in flow, an expired token, IP restrictions, or permissions that do not allow layer queries.
Expected layers are missing
Confirm that you used the service-level URL rather than a single-layer endpoint. The remote service owner may also have disabled access to some layers or operations.
The PostGIS destination is unavailable
Check that the connection, database, and schema exist and that you have permission to create tables. Ask an administrator to configure or grant access to the required PostGIS destination.
An imported table name conflicts with existing data
Add a unique Dataset prefix, select another schema, or remove the conflicting destination table only when it is safe to do so. Do not overwrite an existing table without confirming who uses it.
A background import appears incomplete
Allow time for all selected layers to finish, then check each dataset in the Library folder. Large or complex services can take longer. Retry only failed layers to avoid creating duplicate datasets.
Features appear in the wrong location
Compare the imported extent with the source service and inspect its spatial reference in the ArcGIS REST metadata. A missing or incorrectly interpreted CRS can place features outside the expected area.
Attributes or features differ from the source
The remote service may enforce filters, record limits, or access rules. Compare the imported feature count and fields with the service metadata, and confirm that your credentials can query all expected records.