Publish a QGIS Project
Overview
Publish an existing QGIS project (.qgs, .qgz, or a .zip that contains one) to AcuGIS Cloud from the Web app. You can upload it directly from QGIS Projects, or use Wizard when the project needs guided setup for a PostGIS Database Service.
Before You Begin
- An active AcuGIS Cloud account with permission to create maps
- A QGIS project file (
.qgsor.qgz), or a.ziparchive that contains the project and related assets - If the project uses PostGIS layers: host, port, database name, username, and password for that database
- Optional: an existing Database Service (
pg_service.confentry) if you have already connected this database in AcuGIS Cloud
Package related files
When layers reference shapefiles, GeoPackages, or other side-car data, zip the project together with those files before uploading. The file picker accepts *.qgs, *.qgz, and *.zip.
Step-by-Step
There are two ways to publish:
- Direct upload — the shortest path for a project that is ready to publish.
- Wizard — asks whether the project uses PostGIS and helps create a Database Service when required.
Choose Wizard for new PostGIS connections
Direct upload does not display the PostGIS questionnaire. If the project needs a Database Service that has not been configured yet, use Wizard.
Direct upload
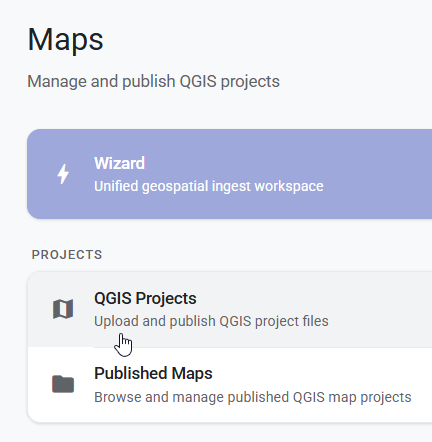
1. Open QGIS Projects
Sign in, open Maps, and select QGIS Projects.
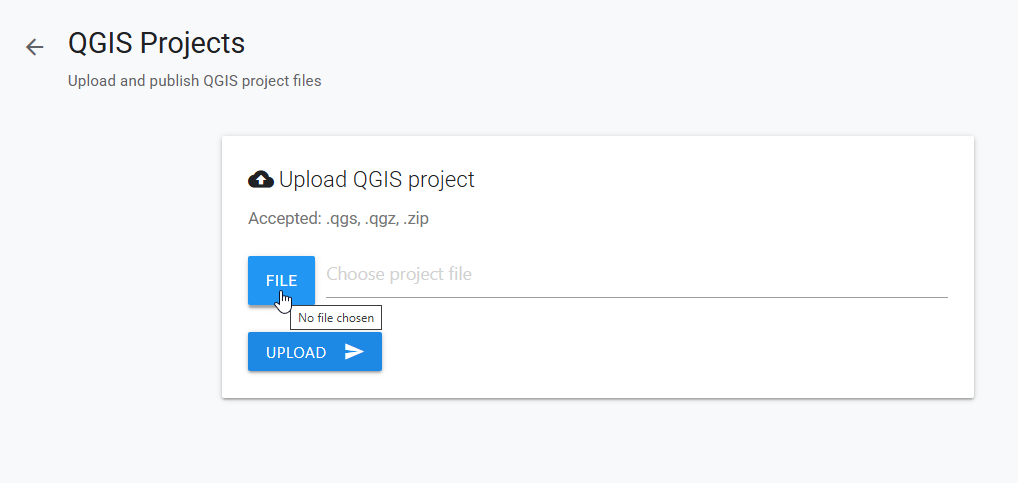
2. Choose the project
On Upload QGIS project, click File and select a .qgs, .qgz, or .zip file.
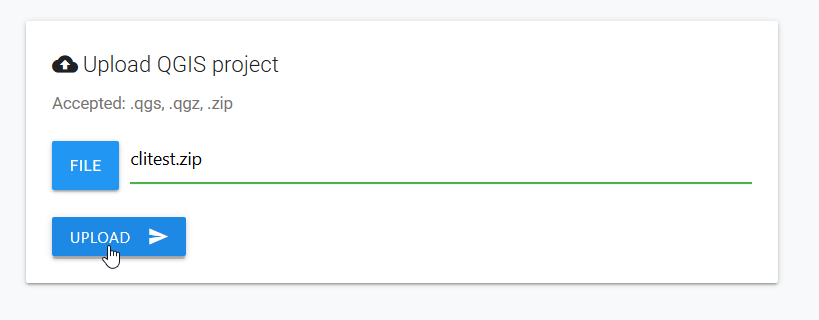
3. Upload the project
Confirm that the filename is displayed, then click Upload.
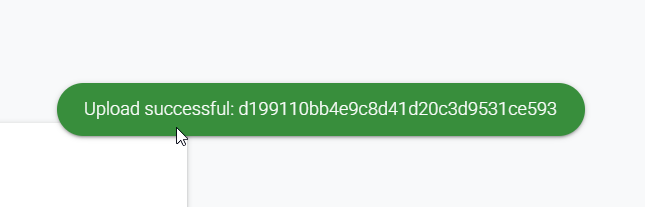
Wait for the success message before leaving the page.
4. Open the published map
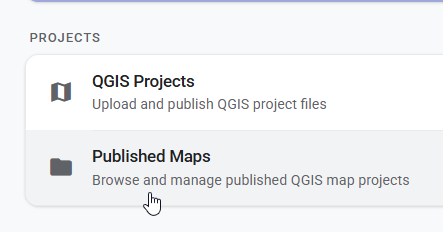
Return to Maps and select Published Maps.
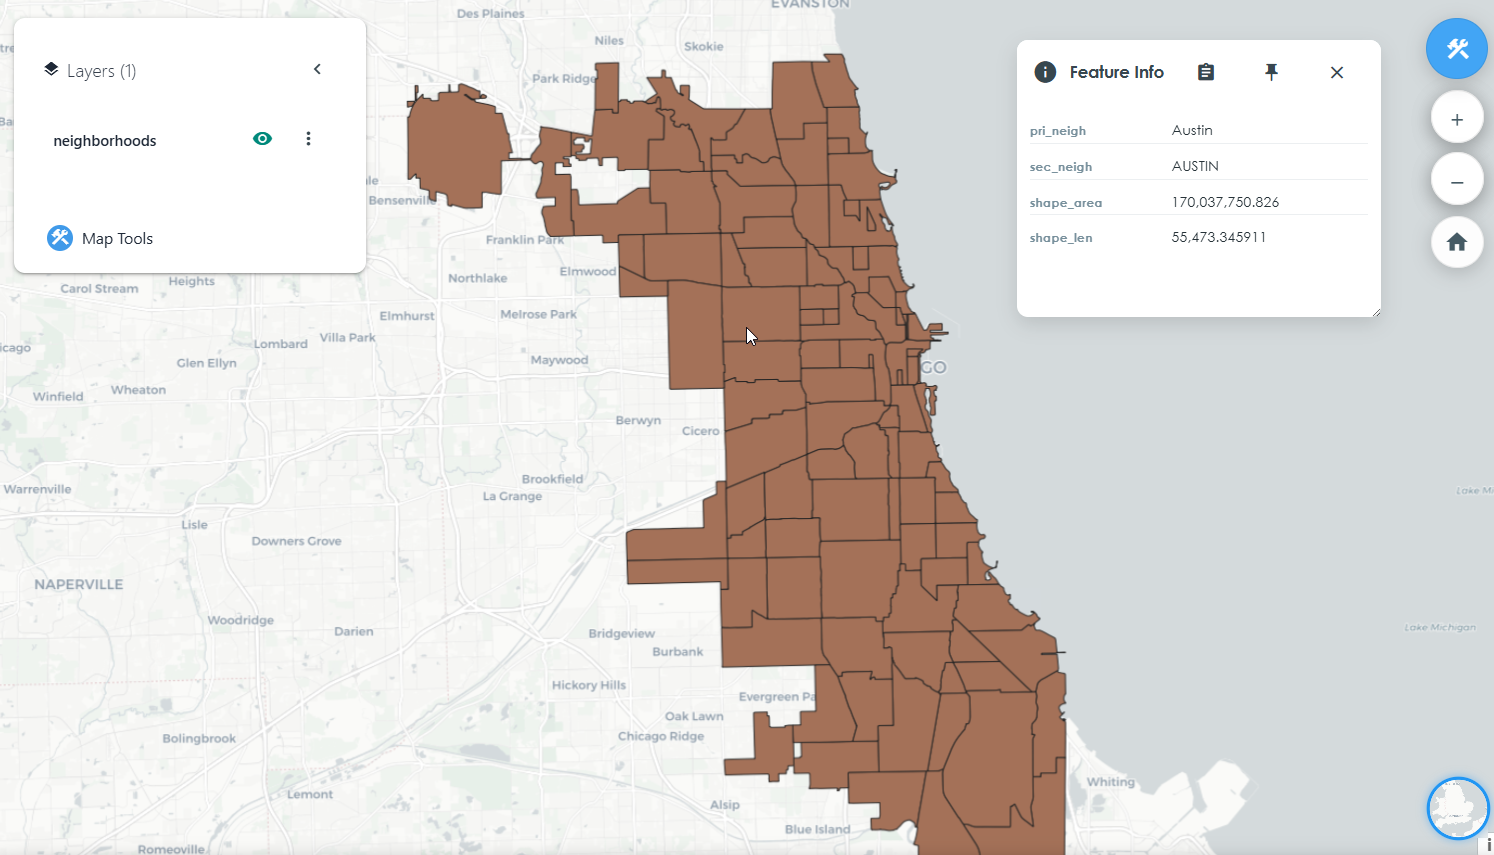
Find the uploaded project and click Open Map.

Verify that the map opens and its layers display as expected.
Publish with Wizard
1. Start Wizard and select QGIS Project
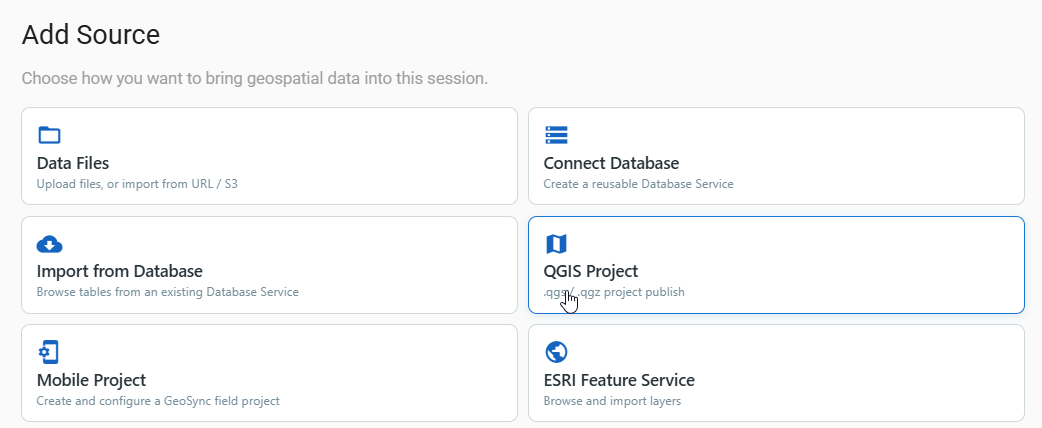
From Maps, select Wizard. On Add Source, choose QGIS Project.
2. Select the project file
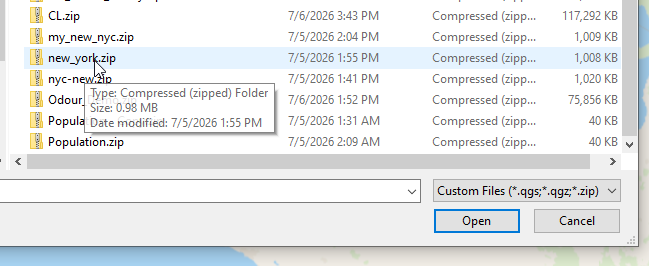
Choose the QGIS project or zip archive from your computer. If the file is not visible, set the file type filter to Custom Files (*.qgs;*.qgz;*.zip).
3. Confirm PostGIS requirements
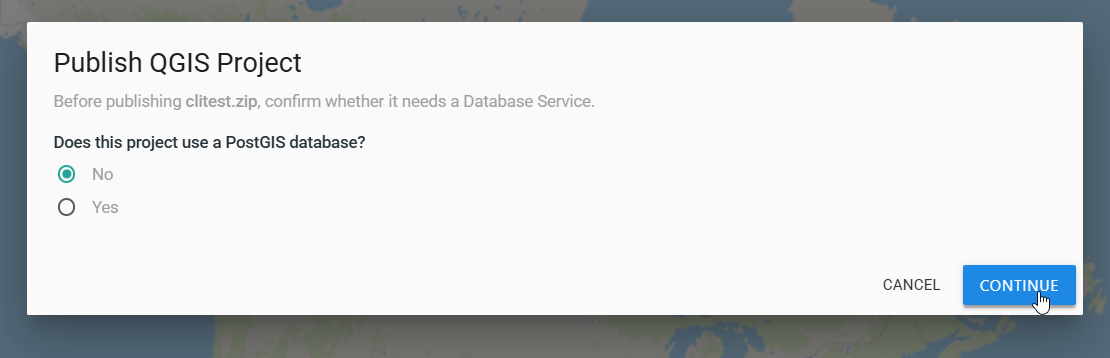
The Publish QGIS Project dialog asks whether the project uses PostGIS.
- Choose No for a project whose data files are included with the project or zip, then click Continue.
- Choose Yes when one or more layers use PostgreSQL/PostGIS. Then indicate whether a Database Service (
pg_service.confentry) already exists for that database.
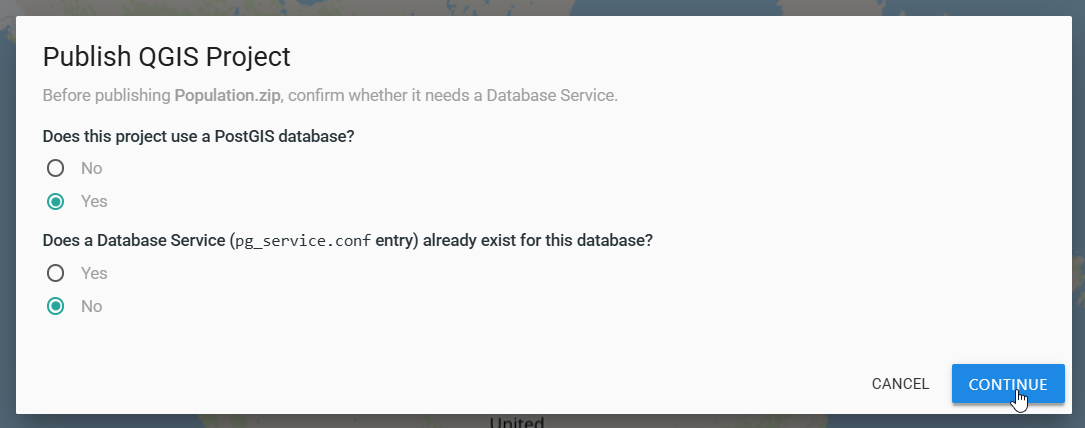
If a matching Database Service already exists, choose Yes and continue. If it does not, choose No to create one in the next step.
4. Connect PostgreSQL / PostGIS when required
Enter the database connection details:
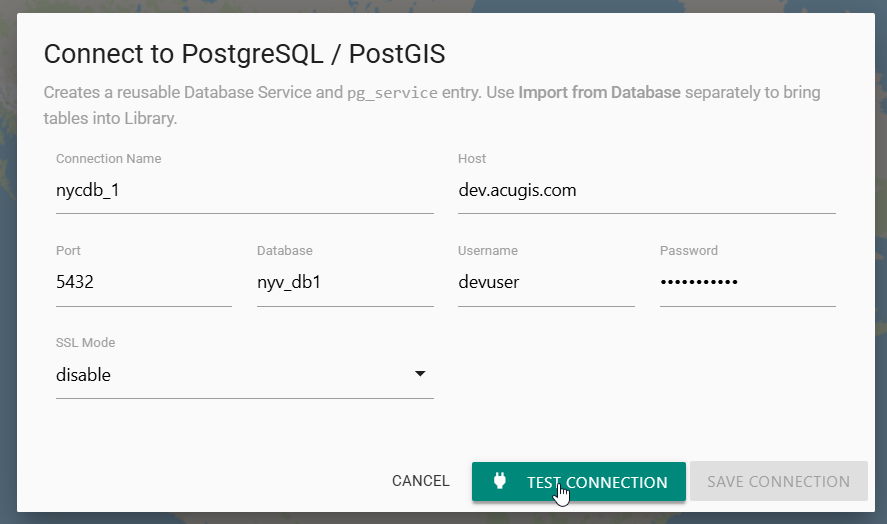
Fill in:
| Field | Description |
|---|---|
| Connection Name | Friendly name for the Database Service (for example, nycdb_1). |
| Host | PostgreSQL server hostname. |
| Port | Database port (default 5432). |
| Database | Target database name. |
| Username / Password | Credentials with access to the layers used by the project. |
| SSL Mode | TLS setting required by your server (disable, require, and so on). |
- Click Test Connection and wait for a successful result.
- Click Save Connection (enabled after a successful test).
- Continue the wizard to publish the project.
Database Service vs. Import from Database
Saving a connection here creates a reusable Database Service for the QGIS project. Use Import from Database separately if you also want to browse tables into the Library. See Connect Databases.
5. Verify the published map
When Wizard finishes, open Published Maps, locate the new project, and click Open Map. Confirm that its layers display correctly, as shown in the direct-upload workflow above.
Tips
Match QGIS connection names
In QGIS, PostGIS layers often rely on a pg_service or stored connection name. Use a Connection Name in AcuGIS Cloud that aligns with what the project expects so layers resolve after publish.
Test before you save
Always run Test Connection before Save Connection. The save action stays disabled until the test succeeds, which prevents publishing with invalid credentials.
File-only project
Your project uses only a GeoPackage inside a zip and no PostGIS layers. On Publish QGIS Project, choose No for “Does this project use a PostGIS database?”, click Continue, and complete publish without opening the PostgreSQL dialog.
PostGIS project, first time
Your project reads census polygons from PostGIS and you have never connected that database in AcuGIS Cloud. Choose Yes (uses PostGIS) and No (no Database Service yet), then create and test the connection as shown above.
Common Problems
Project file does not appear in the file dialog
Set the filter to Custom Files (*.qgs;*.qgz;*.zip). If the project is still missing, confirm the extension and try packaging the .qgs / .qgz and supporting data into a .zip.
Publish fails for PostGIS layers
Confirm host, port, database, username, and password. Check SSL Mode against your server policy. Re-run Test Connection. If a Database Service already exists for this database, go back and choose Yes for “Does a Database Service already exist?” instead of creating a duplicate.
Layers missing after publish
File-based layers may be missing from the upload package — re-zip the project with all sidecars. PostGIS layers may point at a different service name than the one you saved — recreate the Database Service with the expected connection name, or update the project in QGIS to match.
Save Connection stays disabled
The button enables only after a successful Test Connection. Fix any credential or network error reported by the test, then try again.